Installing digital signage in a Sydney venue takes more than mounting a screen — it's about understanding the space first. This guide walks through the full process: defining purpose, assessing the venue, choosing between standard displays, video walls, and custom LED screens, planning mounting and cabling, and training your team. Written in a friendly, no-jargon tone, it covers real considerations Sydney businesses face — from harbor glare to awkward wall shapes — and shows how the right approach turns a simple screen into a genuine part of a venue's identity.
If you've walked through a shopping centre in Bondi, grabbed a coffee near Circular Quay, or checked in at a corporate lobby in the CBD lately, chances are a screen caught your eye before a poster ever could. That's the quiet power of digital signage it doesn't just sit there, it works for you. But here's the thing nobody tells you upfront: buying a screen is the easy part. Installing it properly, especially in a venue as varied and demanding as those across Sydney, is where most businesses either get it brilliantly right or painfully wrong.
Whether you're running a retail store, managing a hotel, fitting out a stadium suite, or setting up a corporate office, this guide walks you through exactly how to install digital signage Sydney venues actually rely on without the jargon overload or the sales pitch.
Why Digital Signage Has Become a Sydney Staple
Sydney is a city that moves fast, and its businesses have had to keep pace. Static posters and printed menus feel a little tired now, especially when customers expect real-time information, dynamic promotions, and visuals that actually stop them mid-scroll (or mid-walk). Digital signage fills that gap beautifully. It's flexible, it's eye-catching, and once it's installed correctly, it practically runs itself.
Venues across the city from Darling Harbour tourist hubs to Parramatta business parks are investing in screens that update instantly, respond to time of day, and even integrate with live data feeds. That's a massive shift from the days of laminated A4 signs taped to a wall.
Step 1: Start With a Clear Purpose (Not Just a Screen)
Before you even think about hardware, ask yourself what the signage actually needs to do. Is it there to guide foot traffic? Advertise specials? Display wayfinding information in a large venue? Or is it a statement piece something like a Video Wall Display Sydney visitors will remember long after they've left?
This matters because the purpose shapes everything downstream: screen size, resolution, placement height, even the software you'll use to manage content. A boutique café doesn't need the same setup as a convention centre, and pretending otherwise just wastes budget.
A good local installer someone who understands both the technical and the human side of a Sydney venue will usually start with a site walk-through rather than jumping straight to a quote. If a company skips this step, that's usually a red flag.
Step 2: Assess the Venue (Because Every Space Is Different)
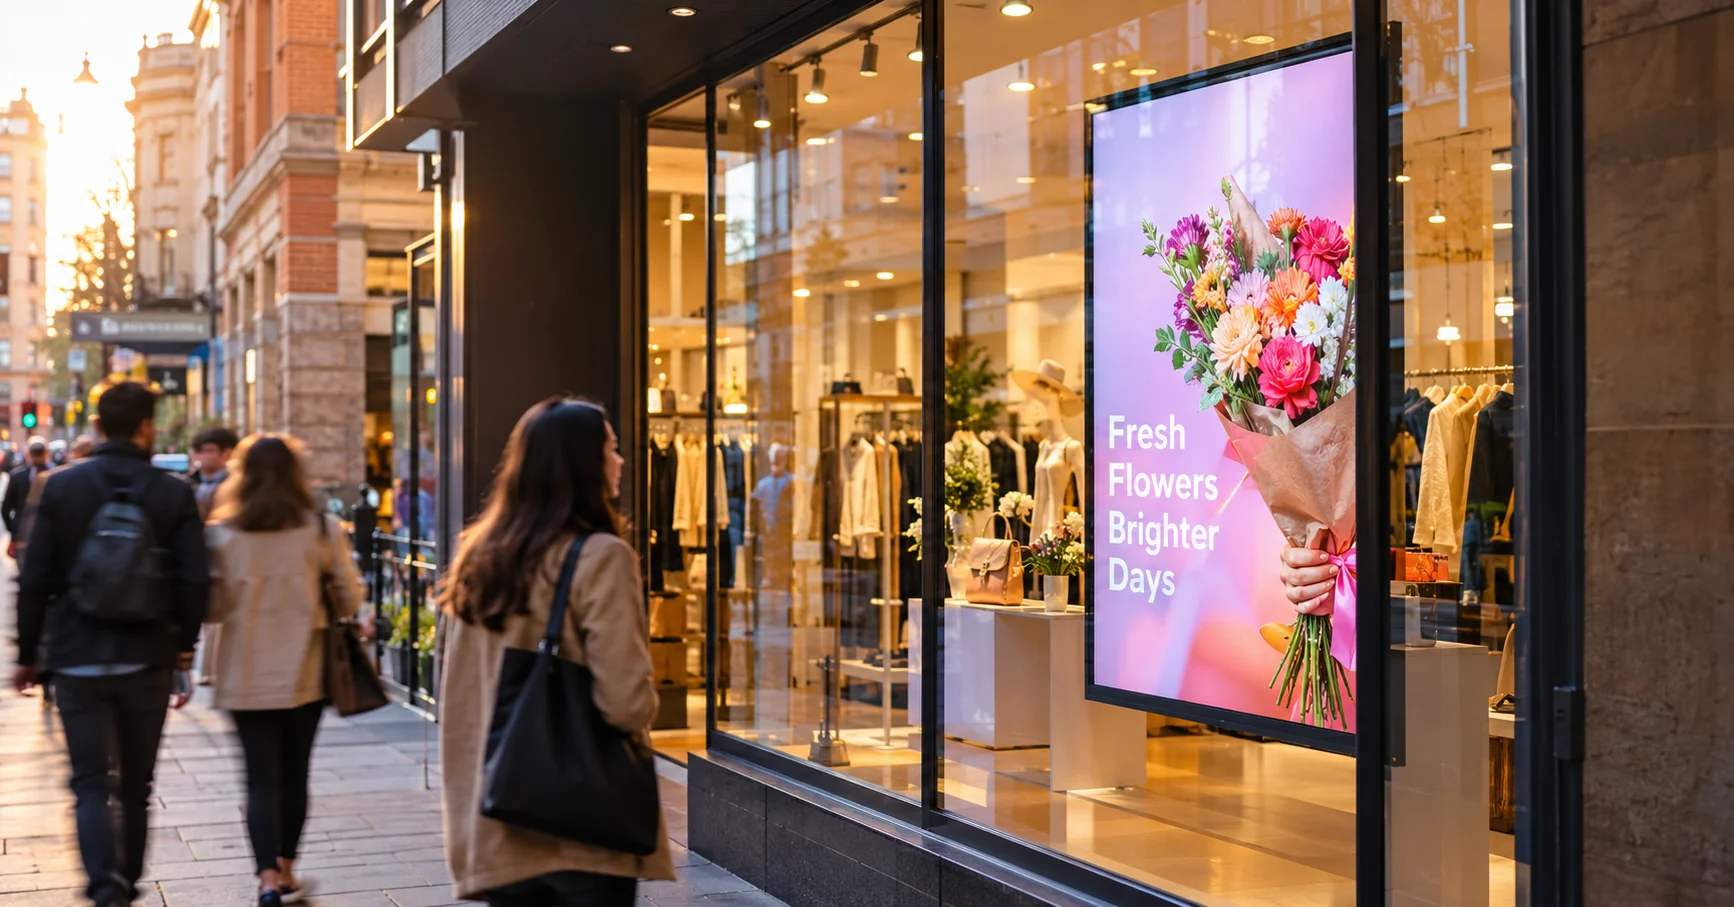
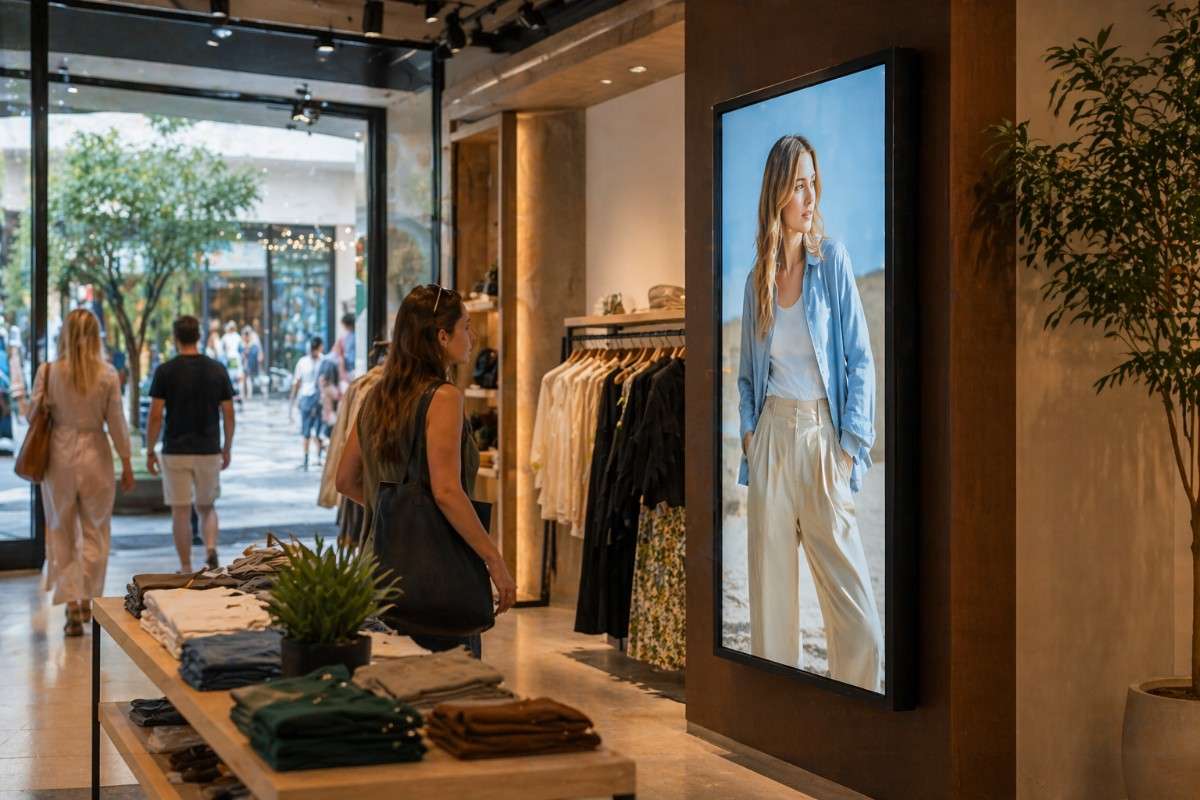
Sydney venues are wonderfully varied, and that variety is exactly why a one-size-fits-all approach to signage installation rarely works. A rooftop bar overlooking the harbour deals with glare, weather exposure, and viewing angles from a distance. A retail store in Westfield deals with foot traffic density and eye-level placement. A corporate office cares more about subtlety and brand consistency than flashy visuals.
During this stage, installers typically look at:
- Ambient lighting — is the screen fighting against sunlight or spotlights?
- Viewing distance — how far away will most people be standing?
- Wall structure — can it support the mounting hardware, or does it need reinforcement?
- Power and data access — is there existing cabling, or will new runs be needed?
- Foot traffic flow — where do people naturally look as they move through the space?
This is also where the idea of a Custom Size LED Display Sydney businesses often request comes into play. Off-the-shelf screen sizes don't always fit awkward architectural spaces — a curved reception desk, a narrow hallway, or an oddly shaped feature wall. Custom sizing means the display is built to match the space, not the other way around.
Step 3: Choose the Right Type of Display
This is where a lot of venues get stuck, mostly because there are more options now than there used to be. Broadly speaking, you're choosing between a few categories:
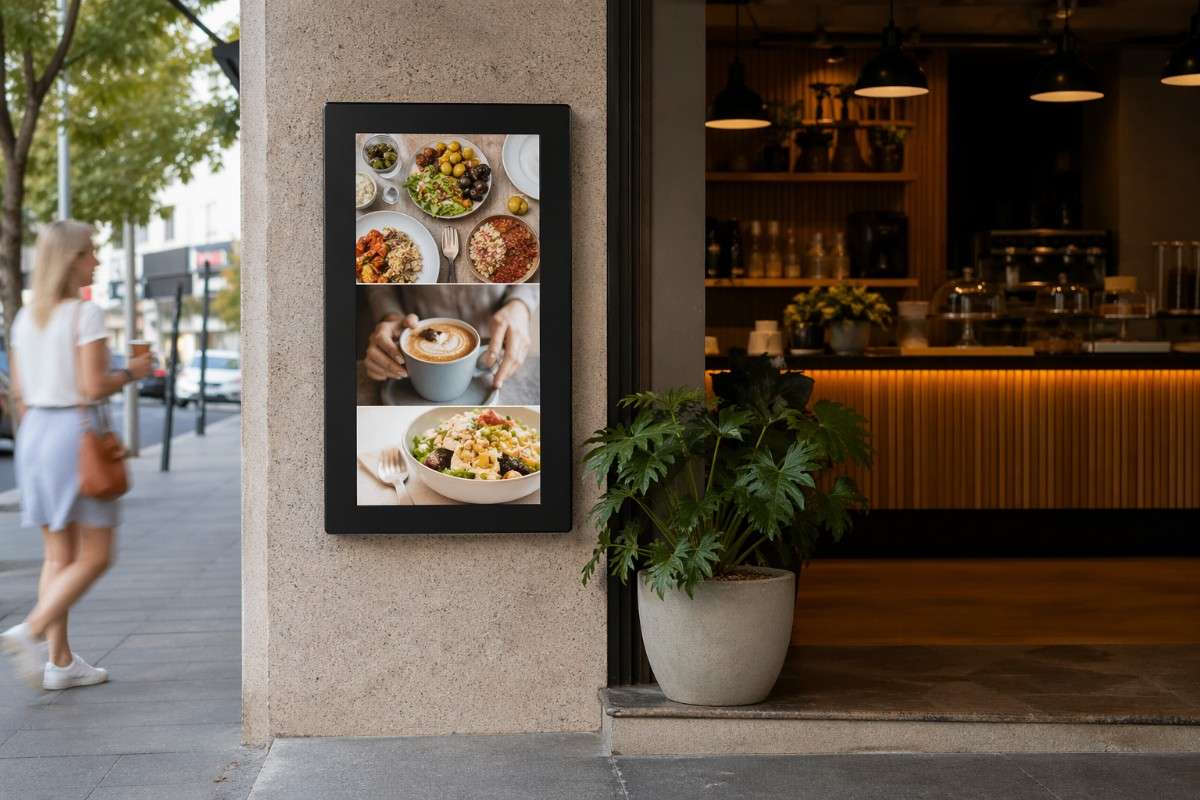
Standard commercial displays — great for menus, promotions, and general information screens. Reliable, cost-effective, and easy to maintain.
Video wall displays — multiple screens joined together to create one large, seamless visual. These are increasingly popular for lobbies, event spaces, and retail flagship stores because of the sheer impact they create. A well-installed Video Wall Display Sydney venues use for branding tends to become the focal point of the entire space.
LED displays — brighter, more durable, and better suited to outdoor or semi-outdoor areas where sunlight would wash out a regular LCD screen. These are often built to custom dimensions, which is where that Custom Size LED Display Sydney conversation usually starts.
Interactive touch screens — used for wayfinding, self-service kiosks, or hands-on customer experiences.
The right choice really comes down to environment, budget, and how much visual impact you're going for. Bigger isn't always better — a screen that's too large for a small space can feel overwhelming rather than impressive.
Step 4: Plan the Mounting and Placement
Once the display type is sorted, the physical installation planning begins. This is genuinely one of the most overlooked parts of the process. A stunning screen mounted at the wrong height, angle, or distance from viewers can undo all the effort that went into choosing it.
For video walls especially, precision matters. Even a few millimetres of misalignment between panels can create visible seams that ruin the seamless effect you paid for. Professional installers use laser alignment tools and custom mounting brackets to keep everything flush and level.
For LED displays, weight distribution becomes a bigger factor because these panels are often heavier and modular, meaning the wall or frame needs proper structural support — not just a couple of screws into plasterboard.
Step 5: Sort Out Cabling, Power, and Content Management
This is the unglamorous part, but it's what makes or breaks the day-to-day reliability of a signage system. Cabling needs to be planned so it's hidden, protected, and doesn't interfere with foot traffic or fire safety requirements. Power circuits need to handle the load, especially for larger video walls that can draw significant electricity.
Then there's the content management system (CMS) — the software that actually controls what appears on screen. A good CMS lets venue staff update content remotely, schedule promotions in advance, and swap out messaging without needing a technician on-site every time. This is especially useful for multi-location businesses managing signage across several Sydney venues at once.
Step 6: Test, Calibrate, and Walk Through
Before anything goes live, a proper installer will test the system thoroughly — checking brightness levels against ambient lighting, colour calibration across multiple panels (especially important for video walls), audio if applicable, and network connectivity for remote content updates.
This is also when any final adjustments get made. Maybe the screen needs a slight angle change to reduce glare from a nearby window, or the brightness needs tweaking for evening versus daytime use. Skipping this step is like buying a beautiful outfit and never trying it on — it might look great in theory, but the fit matters.
Step 7: Train the Team
Here's something that gets missed constantly: the installation isn't really finished until the people who'll be using the system day-to-day know how it works. Whether that's a café manager updating the daily specials or a marketing team scheduling seasonal campaigns, a quick training session saves a lot of frustrated phone calls later.
The best signage partners don't just install and leave — they make sure your team feels confident running the system independently.
Where Digital Harbor Fits Into the Picture
This is exactly the kind of end-to-end process that Digital Harbor has built a reputation around across Sydney venues. Rather than treating installation as a purely technical task, the approach leans into understanding the venue first — its lighting, its layout, its brand personality — before recommending hardware.
For businesses looking at a custom-fit solution, whether that's a striking video wall for a hotel lobby or a weatherproof LED display for an outdoor dining area, working with a team that genuinely understands Sydney's diverse venue landscape makes the entire process smoother. It's the difference between signage that looks installed and signage that looks like it belongs there.
Common Mistakes Worth Avoiding
A few things trip venues up more often than you'd expect:
- Underestimating brightness needs — a screen that looks great in a showroom can wash out completely in direct Sydney sunlight.
- Ignoring future scalability — if you might expand the display later, plan the infrastructure for that now rather than retrofitting.
- Ordering standard sizes for non-standard spaces — this is exactly why custom sizing exists, and skipping it often means an awkward fit that never quite looks right.
- Forgetting maintenance access — screens need occasional servicing, so mounting them somewhere impossible to reach creates headaches down the line.
Final Thoughts
Installing digital signage in a Sydney venue isn't just about hanging a screen on a wall — it's a genuine process that blends design thinking, technical precision, and a solid understanding of how people actually move through and experience a space. Get it right, and the screen becomes part of the venue's personality. Get it wrong, and it's just an expensive distraction.
Whether you're after a single display for a small café or a full Video Wall Display Sydney customers won't stop talking about, taking the time to plan properly — purpose, placement, sizing, and content management — pays off in the long run. And if you'd rather not navigate all of this alone, partnering with a team that's done it dozens of times across the city, like Digital Harbor, tends to make the whole journey a lot less stressful and a lot more effective.